 |
| I am not currently selling. Enjoy your visit to ModColors.com. |
![]()
|
Click here for my complete Tools & Materials list. |
| Book, magazine, and online research has given me several methods for rerooting Mod Era Barbie dolls. I'm sure there are others, but on these two pages are the methods I've tried. My third rerooting page has a neat flash presentation of the Matsumoto reroot method. |
|
Two Needle Anchor Thread Method 3 ft. strand of dental floss (anchor floss) The idea here is to use one threaded needle to draw the thread (or, in this case, dental floss) from the second needle up through
the scalp hole to create an eyelet. I think it's easier to do than it is to explain. |
| Rooting a Part Using the anchor thread method, I alternate sides when plugging the part. Starting at the forehead (or back of the neck for PJ's pigtails) I insert the first plug, then split it in half when inserting the second plug from the opposite side of the part. I split the second plug in half with the third plug, and so on to the end of the part. This creates a thatched pattern, and completely covers the scalp. |
| The Flip's Spit Curl The spit curl is created from only one plug, so the number of strands is important for it to look correct. A common mistake is to make this plug too dense. I use only 8-10 strands, depending upon the thickness of the hair used. Remember, this curl lays flat against the forehead. A thinner plug will be easier to train, and will look more like the original. |
| Rerooting Eyelashes I use the same type of hair for eyelashes as I use for the head. I've seen eyelashes done with black thread and, believe me, it looks far from natural! Remember, the eyelashes need not be black. I go with my feelings when it comes to the color. For instance, if I'm doing a blond or redhead, I will use a dark brown shade. For the more flamboyant hair colors, it depends on how dramatic I want the eyes to look. I always use a dark shade, though, so the eyelashes will draw attention to the eyes. Use a little imagination here. Once I've chosen the color, I thread a needle with about 6 strands of hair. I usually start at the outside corner, pulling the needle down into the scalp and through the head, and coming out the neck opening. I remove the strands from the needle and draw them back up into the head, leaving about a 1/2" inside. I complete one eye to my satisfaction, then do the other. I don't knot eyelash plugs for two reasons. If I cut them too short, there's a little extra to pull through. Also, this is a very small work area with narrowly spaced holes. Knots will tend to get in the way of the needle. Another thought: If you look inside a head with original lashes, you'll notice that Mattel didn't knot Mod Barbie's lashes. They actually never knotted anything. (Barbie Bazaar March 1994)1 |
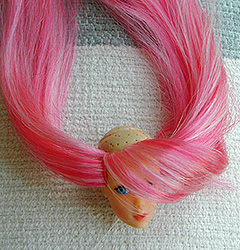
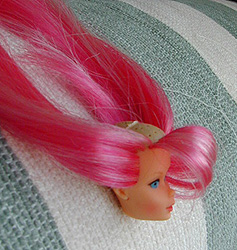
Work in Progress
 |
 |
Cleaning TNTs | Small Repairs | Rerooting | Hair Restyling
Tools and Materials | Barbie Bazaar Reference
_________________________________________________________________________________
| Copyright © 2001-2014 ModColors All Rights Reserved Privacy Policy | Terms of Use | Content Label | Contact Webmaster |